Idea Statica
  • Steel
  • Concrete
  • BIM & Workflows
  • Support & Learning
  • Pricing
  • Company
  • Steel overview
  • Connection design
  • Member design
  • Parametric design
  • Steel case studies
  • Concrete overview
  • Walls and D-regions
  • Anchoring design
  • Concrete case studies
  • BIM Overview
  • Supported integrations
  • Checkbot
  • Viewer
  • APIs
  • Support Center
  • E-learning & certification
  • Blog
  • Downloads & Licensing
  • Plans
  • Free community tool
  • Enterprise customers
  • Students & educators
  • How much will you save?
  • About us
  • Contact
  • Research & development
  • Authorized resellers
  • Meet our customers
  • Career
  • Steel
    Steel overviewConnection designMember designParametric designSteel case studies
  • Concrete
    Concrete overviewWalls and D-regionsAnchoring designConcrete case studies
  • BIM & Workflows
    BIM OverviewSupported integrationsCheckbotViewerAPIs
  • Support & Learning
    Support CenterE-learning & certificationBlogDownloads & Licensing
  • Pricing
    PlansFree community toolEnterprise customersStudents & educatorsHow much will you save?
  • Company
    About usContactResearch & developmentAuthorized resellersMeet our customersCareer
14-Day Trial
14-Day Trial
  • Steel
  • Concrete
  • BIM & Workflows
  • Support & Learning
  • Pricing
  • Company

Subscribe to our newsletter

Company

  • About us
  • Partners
  • Careers
  • Patent

Resources

  • Customer projects
  • Case studies
  • Connection Library
  • Verification books

Legal

  • EULA
  • Privacy policy
  • California Privacy
  • TOS Viewer
  • Licensing

Help

  • Contact
  • Quote request
  • Resellers
  • Downloads
FacebookInstagramLinkedInYouTube

© IDEA StatiCa 2009-2026

Trusted and used worldwide by engineers, fabricators & consultants.

Support CenterKnowledge Base ArticlesImport
Connection designSteelKnowledge baseBIM link

Import

This article is also available in
ENCZDEESFRITPTNLHUROKRPLTHTRVIZH

There are two options of the import of the model into the Checkbot:

I. To take a larger part of the structure into Checkbot, select Bulk. (Used in this tutorial.)
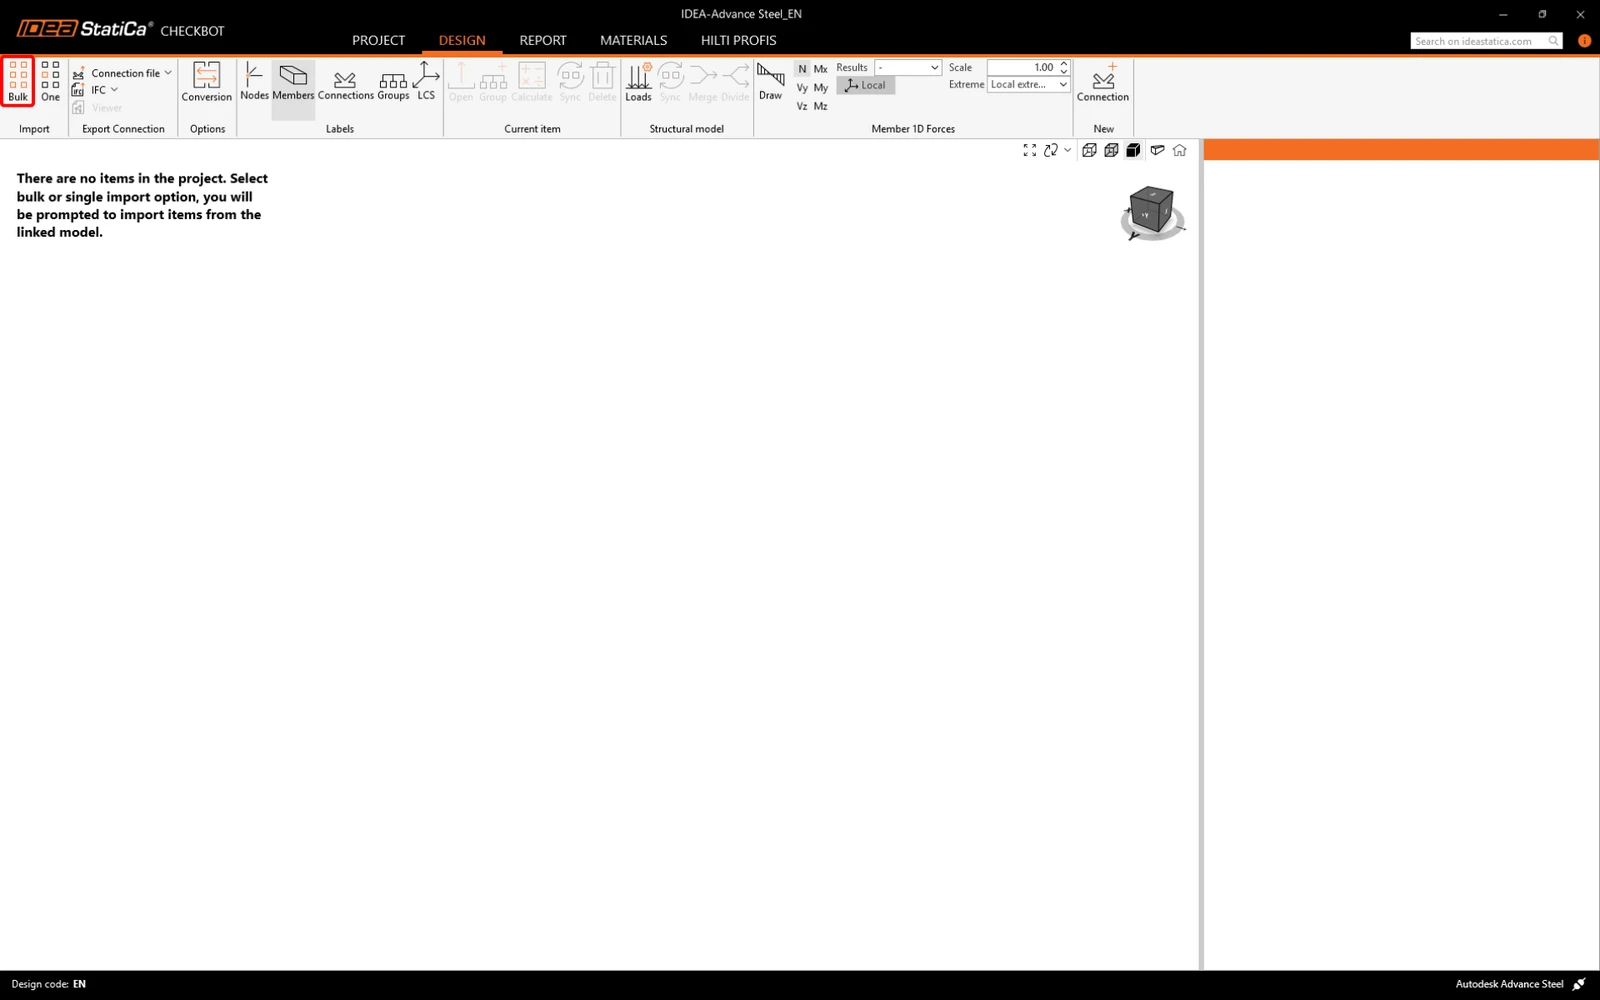
This will import all of the selected parts of the structure into Checkbot - with the same coordinates, orientations, and section sizes as per the BIM model. The joint center is created automatically by the software according to the members' intersection. We recommend not importing all of the connections at the same time but building up the connections incrementally.

II. Alternatively, you can export a single node using the One button in the top ribbon of Checkbot. 
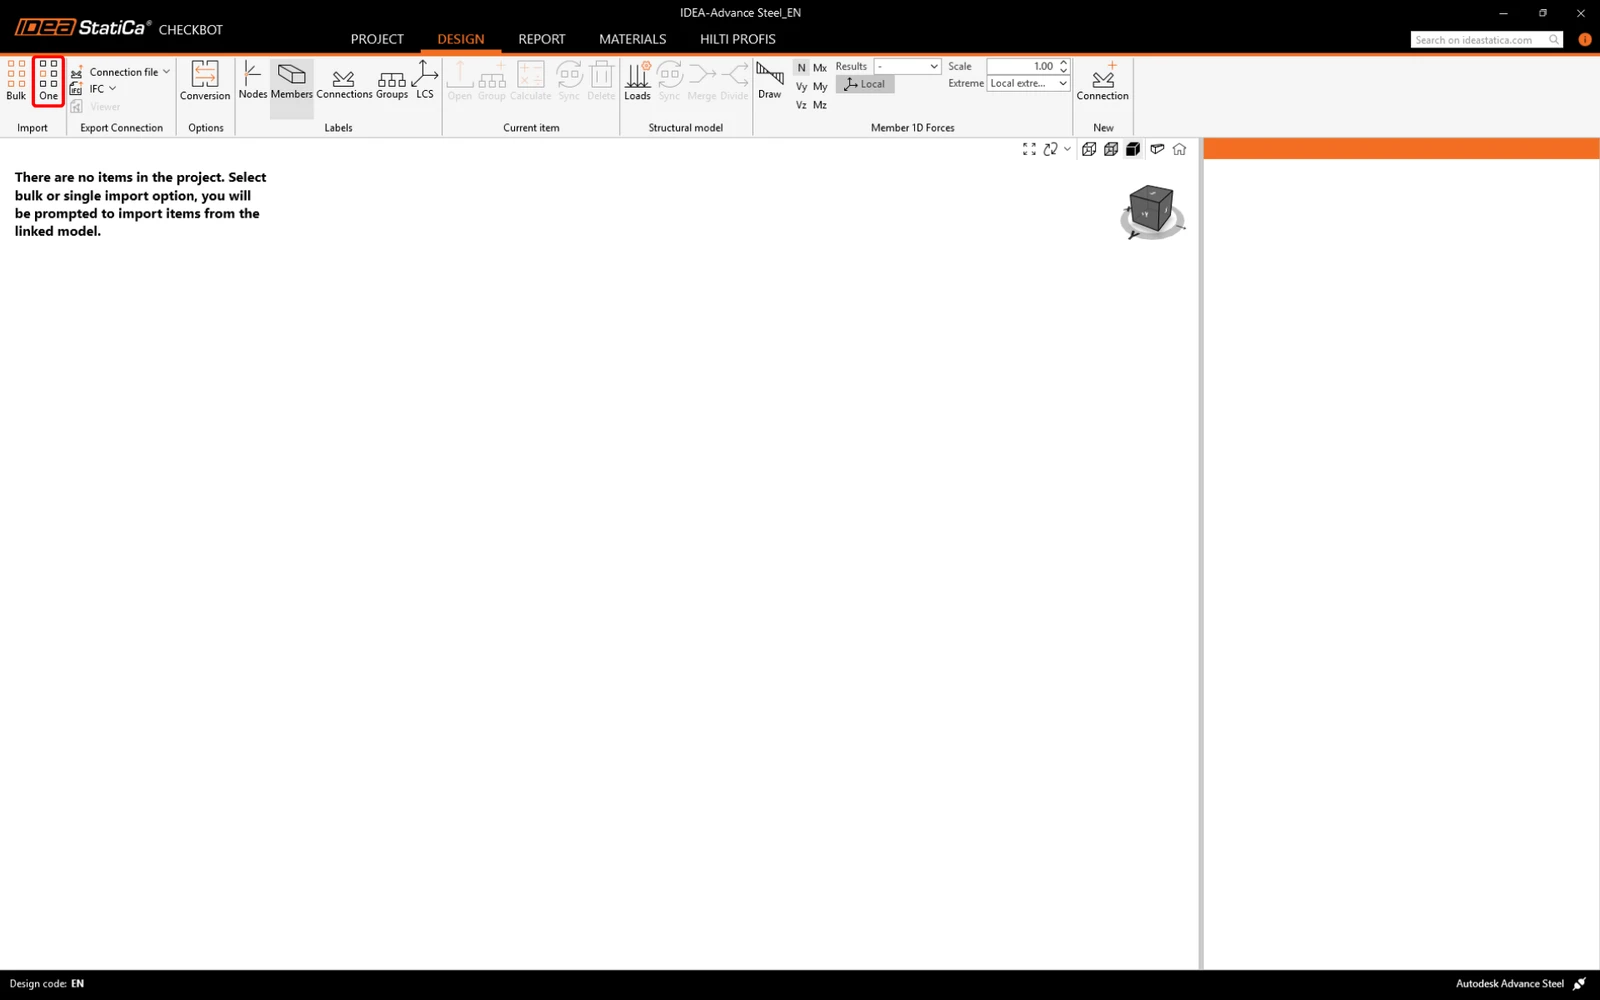
Unselect everything in the structure of your BIM model and press One. Then:

  1. In the BIM model, select the node representing the center of the connection and confirm it with the spacebar or right mouse button or enter key.
  2. Now, select the structural members, such as beams and columns. The order of selected members will define the order of members in the Connection model. Confirm as in the step 1.
  3. Select all other connection entities such as bolts, plates, etc. and again confirm. 

The connection will be taken to the Checkbot now.

Choose between these two ways (Bulk or One) of import. Both of them successfully import the structure. 

In Advance Steel, select one of the inside columns with bracing making sure you also select all of the connection objects.
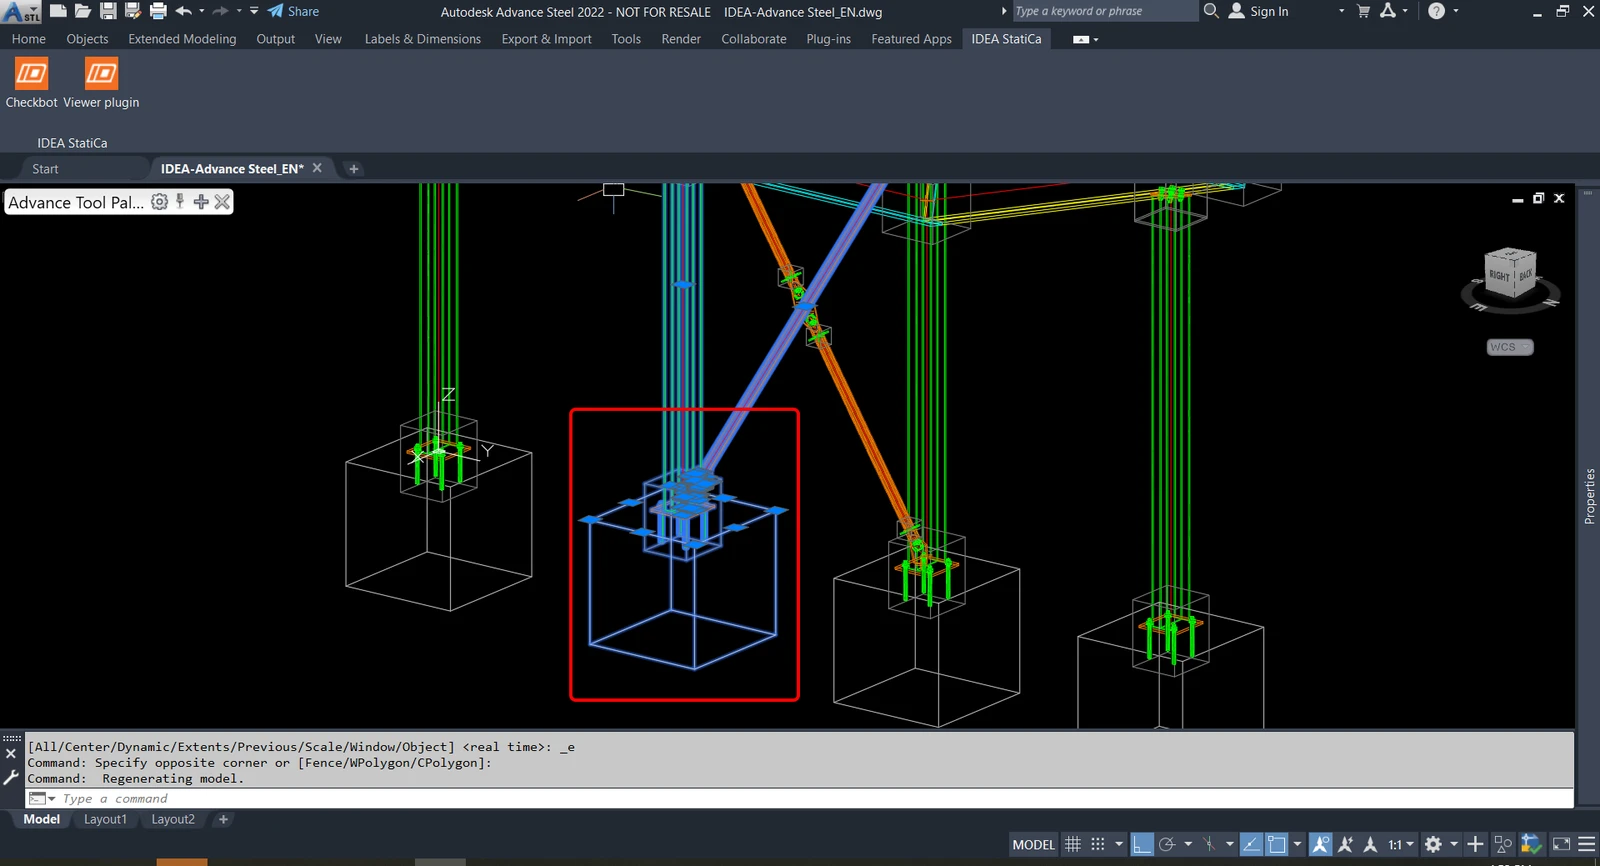
Please note that your node and member numbering might be different.
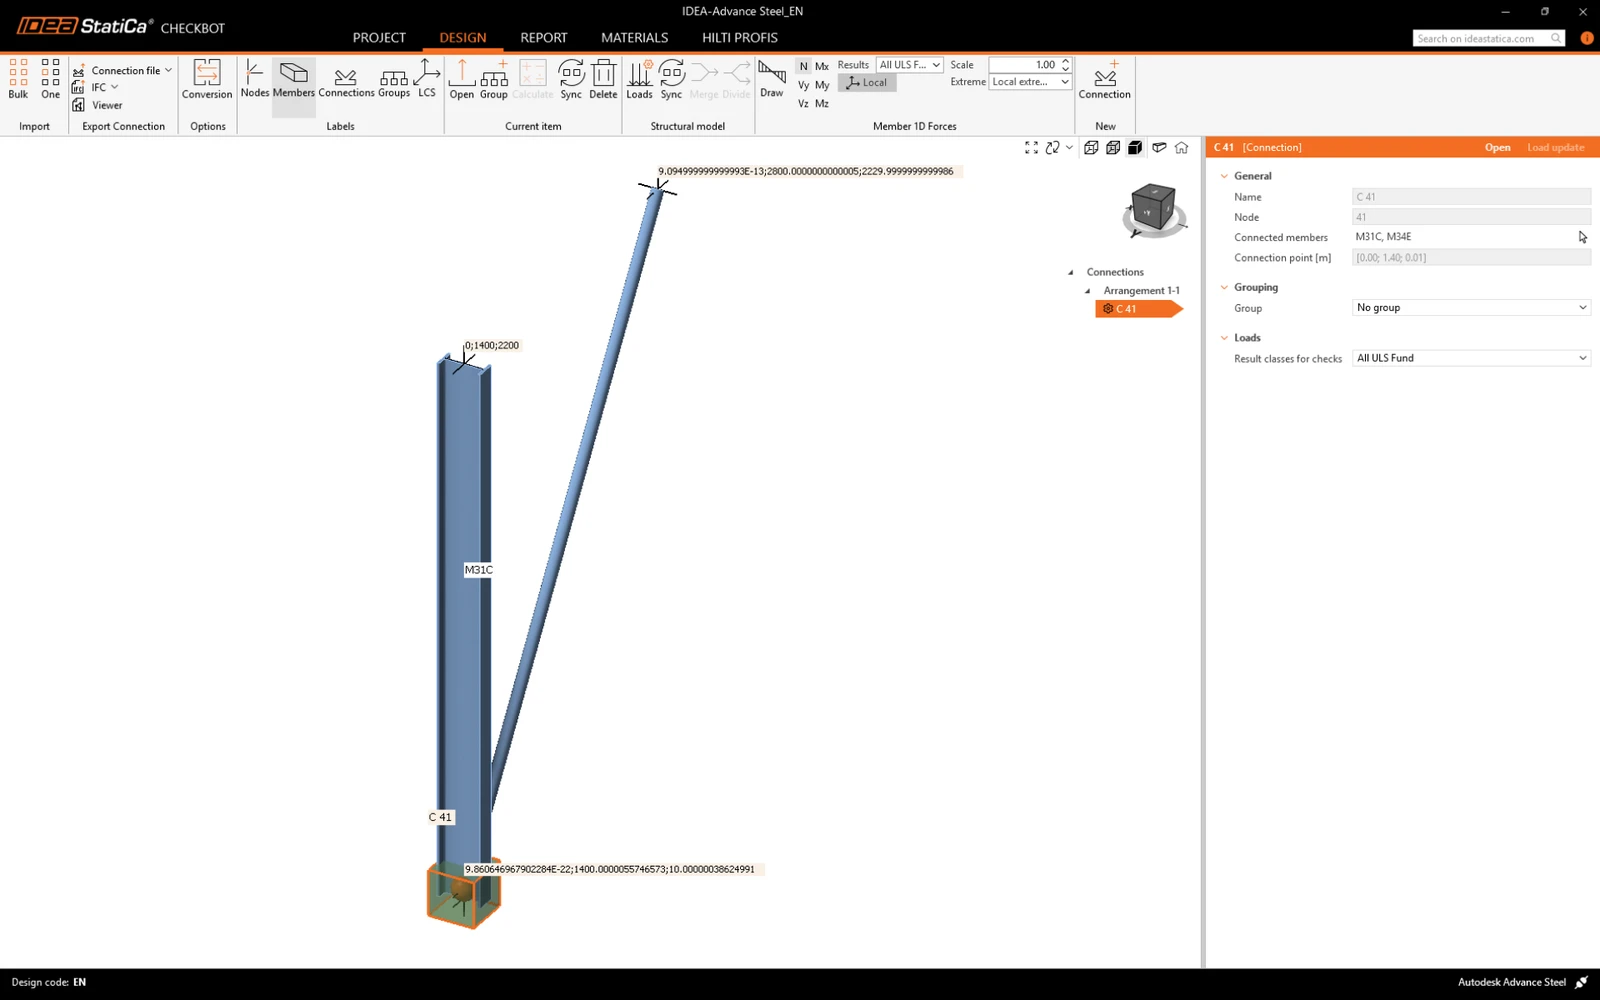
Please note the 3D workspace is designed to show an overview of the imported structure and not a detailed view of the actual connections. For more information on Checkbot see here.